Setup LittleRP Resin Printer
Guide to help setup LittleRP Resin Printer the open yet flexible 3D printer.
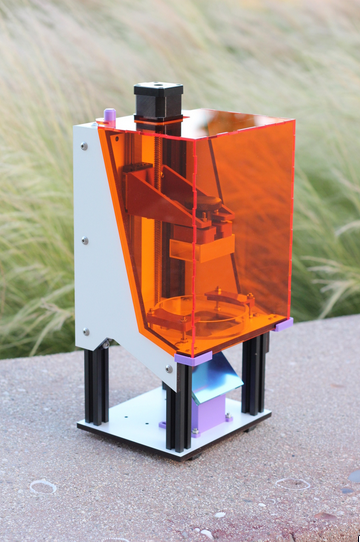
The current build volume is 60mm(X) 40mm(Y) 100mm(Z) with a build speed of approx 2 minutes per 1 mm at .05mm layer height. It will take some time to complete a 50 mm model but if you have checked out other options you will notice that it is not that bad. More details on the technical specifications are available here : http://www.littlerp.com/?page_id=22
Basically Rasin printers use liquid light-sensitive resin which can be controlled using +2000 lumen DLP projector or a near-UV laser.
Guide to LittleRP Resin Printer
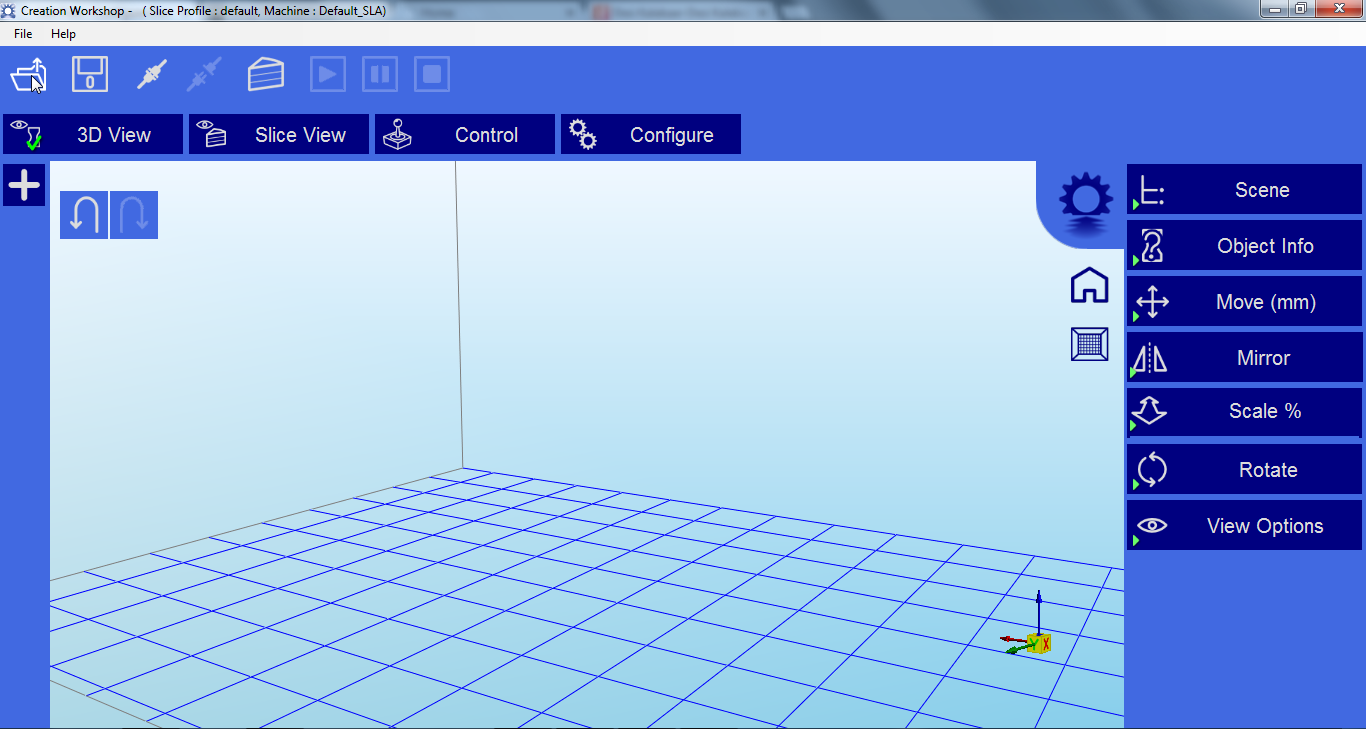
To start the 3D printing process you can choose from a number of selected programs. Envision Labs Creation Workshop or STL Slicer or Projector Controller or Gcode Sender.
Basically these apps will use the DLP projector as a second screen on your PC and emit lumen as per requirement for the resins to build the 3D image. If our example we will be using the recommend Creation Workshop, a free software for non-commercial usage.
Start by opening any 3D model file (STL, OBJ, or 3DS) : (Click on the Open button to load the file for Printing)
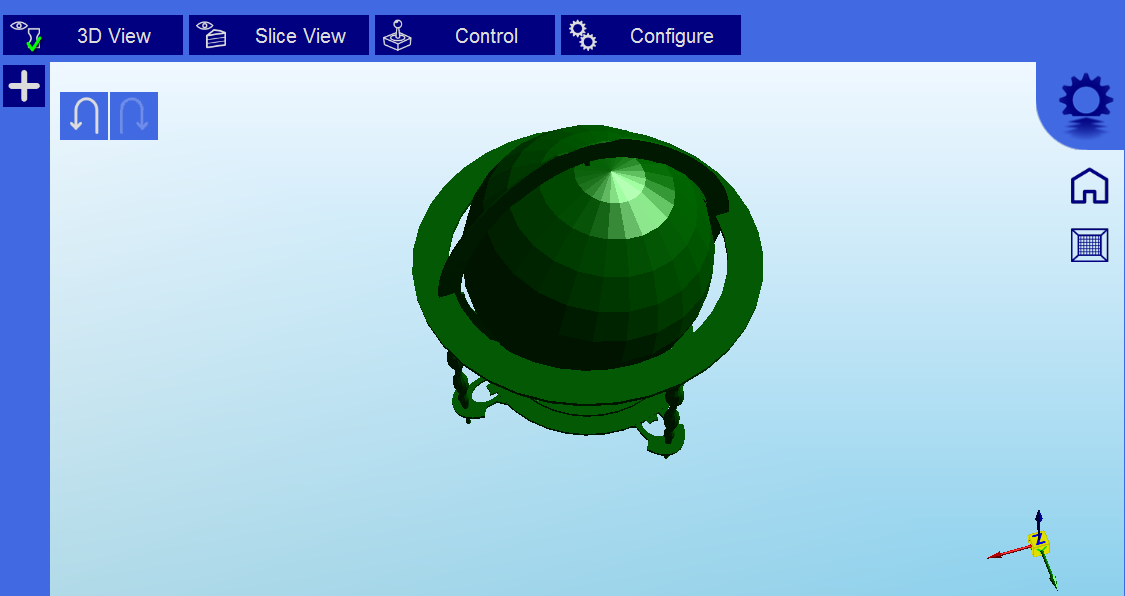
Selected model will apear in green after it is loaded also selected models can be removed by selecting the model and then right clicking to select remove.
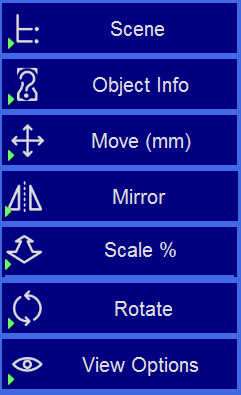
On the right side of your screen you will have the options for Scene, Move, mirror and other support tools. Supports are sometime required to properly attach a model to the build surface.
You can go and view the slice of the model as well as the control options on the horizontal menu.
![]()
Starting the LittleRP Resin Printing Process :
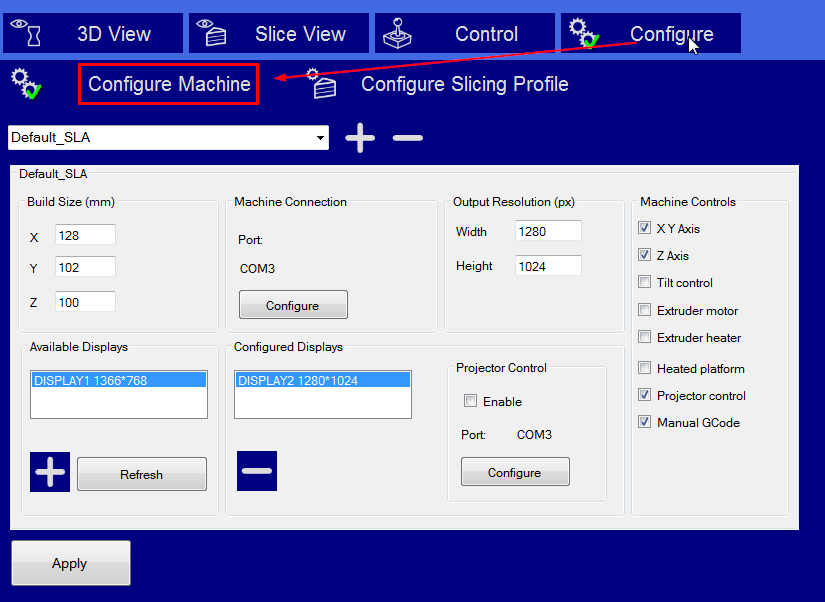
When the ‘Creation Workshop’ application is ran for the first time it iwll create a default 3d UV DLP machine profile. The prifle needs to be edited as per your printers’s and projectors specification. Click on the Configure button to proceed with the configuration settings.
Once all your settings are configured correctly you should have the option to connect to the printer. Click on the icon below to connect and start printing.

For further detail configuraiton assistance please review the UserManual which is available when using ‘Creation Workshop’.


